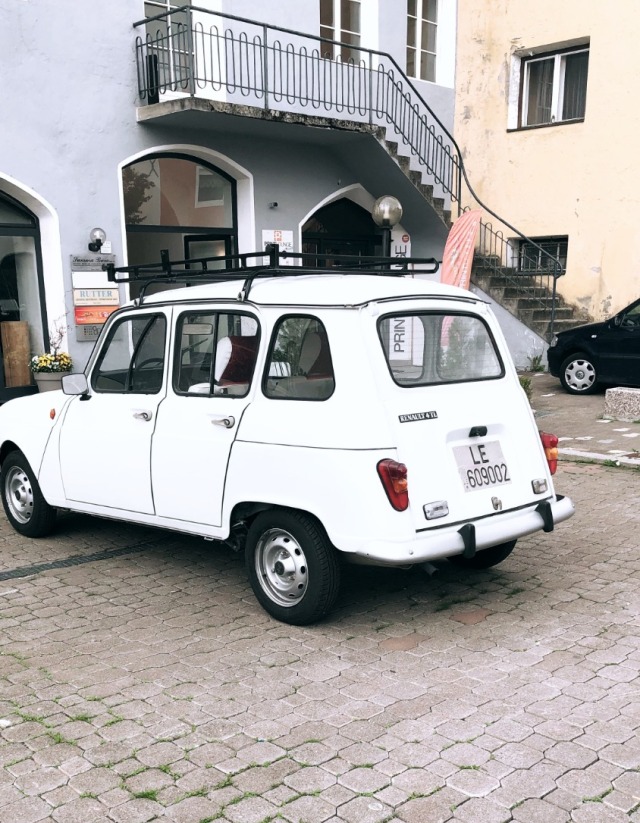
During our travels we have learned that traveling with a brewing method can be difficult and often challenging to pack. But, when we discovered the AeroPress, we knew we had found the perfect companion to add to our adventurous duo. [Pro-tip: If you love the idea of being able to travel with your AeroPress (particularly in this European dream of a car), check out the Origin Supply AeroPress Kit! We recommend the blue one.] The AeroPress was invented by Allan Adler, a professor from Stanford University. Popularly known for his other plastic inventions, such as the world record breaking frisbee, Adler was inspired to craft the AeroPress when his wife wanted to be able to brew a single cup of coffee for a guest at a party. As all good stories begin, the AeroPress was created in his garage, and after a year of fine tuning, this method was born. Interested in testing it out? Check out our step by step overview.
What You Need: {Don’t Have Everything On Our List? Click the links below for the brands we recommend!}

- AeroPress
- 15-18g Coffee
- 230g Water @ 174.2 *F
- AeroPress Paper Filter
- Kettle
- Grinder
- Digital Scale
- Timer
- Stirring Tool
- Coffee vessel (KeepCup or Hario V60 Glass Vessel)
Total Brew Time: 1-1:30
Step 1: Bring just over 200g (7 oz) of water to a boil. While the water is heating up, weigh out 15-18g of coffee. The amount of coffee depends on your preference of mouth feel and profile strength. The grind size should appear slightly finer than sea salt.
{Don’t Know What Coffee to Choose? Check out our friends from our Kaffee Alchemie Post! Hint: There are two links, one for our coffee pick, and one that will lead your to our Post!}
Step 2: Insert a paper filter into the AeroPress detachable basket/cap.
Step 3: By now, your water should be close to the proper temperature. Once it has reached the mark, use some of the hot water to wet the filter and the basket/cap. This action serves a double function: First, it helps the filter stick to the basket/cap. Second, it preheats your brewing vessel. Keep in mind that the water is hot and the cap is quite small. [Pro-tip: Hold the basket by the ears and pour the water slowly so that the filter absorbs the water.]
Step 4: It is time to assemble your AeroPress. Throughout this step, it is crucial to ensure that the entire apparatus is dry. Much like when using a French Press, any remaining moisture can complicate the device’s seal as well as cause the grounds to stick to the wall. [Hint: See the picture below for a look at the assembly process.]

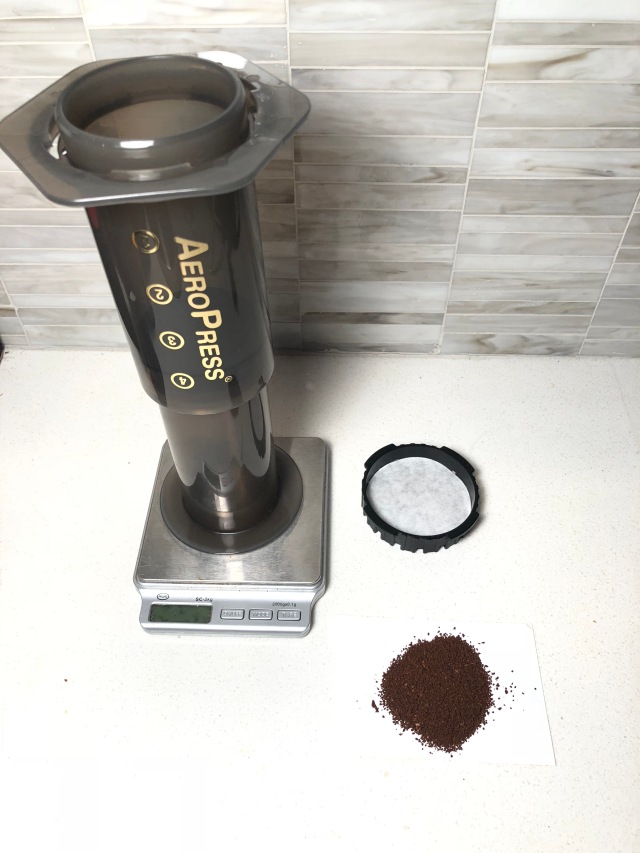
Step 5: Next, bring out your coffee scale and set your apparatus on top of it in an inverted manner. [See the photo on the right.] The numbers will appear upside-down if you have it set the correct way.
Step 6: Add your coffee grounds to the inverted AeroPress, and be careful to not allow any of the coffee to sprinkle into the ring-shaped gutter at the top of the AeroPress.
Step 7: Grab a timer or your phone’s clock, and get ready to hit start. Here, you will want to double the weight that you have with the grounds with water. In other words, if you have 18 grams of coffee, add 36 grams water. The water should be roughly 202 degrees F.
Step 8: It is important for the coffee to be saturated evenly, which can be manipulated with your stirring paddle or butter knife if it requires. This should sit for 30 seconds. Use the remainder of the hot water to fill the chamber (usually just above the number 4).

Step 9: After one minute has passed, stir the grounds eight times in a circular motion. This is called agitation.
Step 10: Now’s the time to lock the basket in, which can be guaranteed if the ears are tightly underneath the grooves. Flip your AeroPress over quickly, but while maintaining control. It is very important that you know where you are going with the AeroPress since it will likely begin to drip once turned over. [Pro-tip: We recommend using a medium sized KeepCup as your vessel, or a Hario V60 Glass Server.]
Step 11: Once you have your apparatus on top of your receiving vessel, you will want to immediately press the plunger down. This should be about 30 pounds of resistance. If it seems too easy to press down, you may want to consider making your course size finer. Or, if on the other hand it is too easy, go ahead and coarsen up the grind. After you hear the hissing sound, the coffee is fully brewed and there is no more water to flow through the device. Happy sipping!!!
Another thing we love about the AeroPress is its easy clean up procedure. All you need to do is unscrew the basket and pop our the filter, along with the puck of coffee grounds by pushing the plunger through the interior section slightly further.
We hope you find this tutorial helpful, and if you have any Pro-tips or travel hacks that you would like to share with the GFT community, message us on Instagram or FaceBook!
